Editing Events
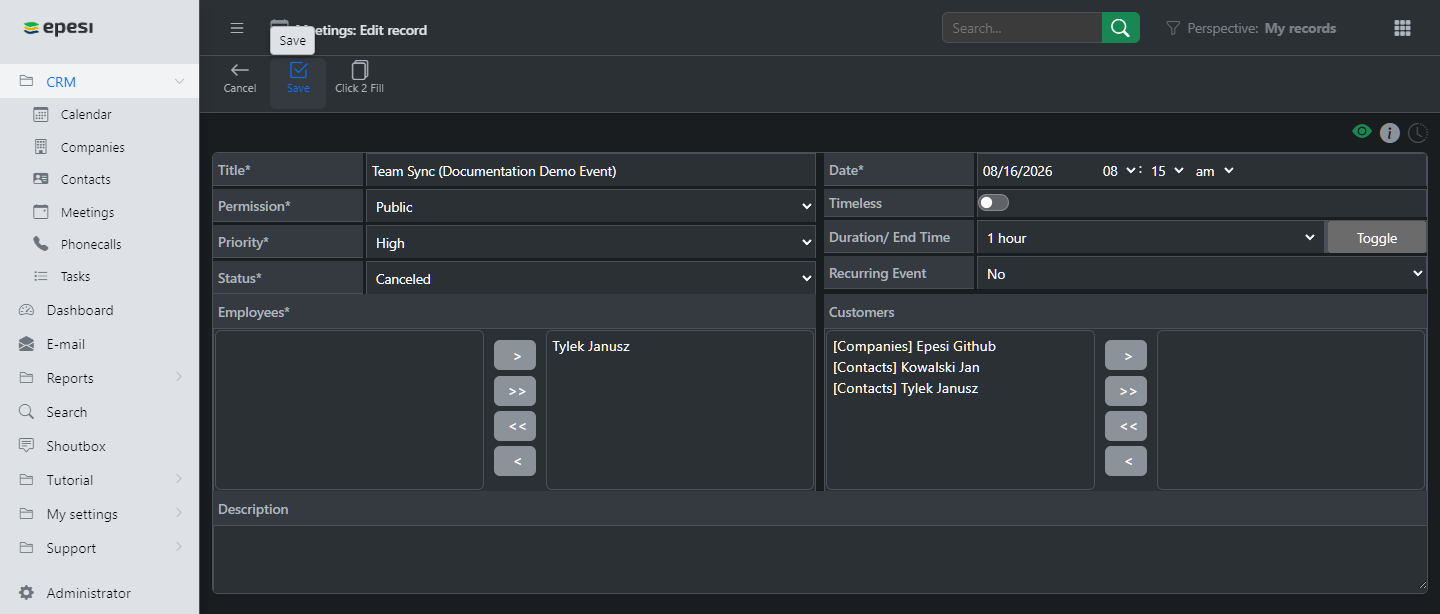
To edit an event, open its form and change whatever fields you need. Three ways to get there:
- From Agenda — choose Edit from the event's actions.
- From a grid view — click the icon on the event frame, then choose Edit.
- From the View Event interface — click Edit in the Action Bar while viewing the event (shown below).
Cloning
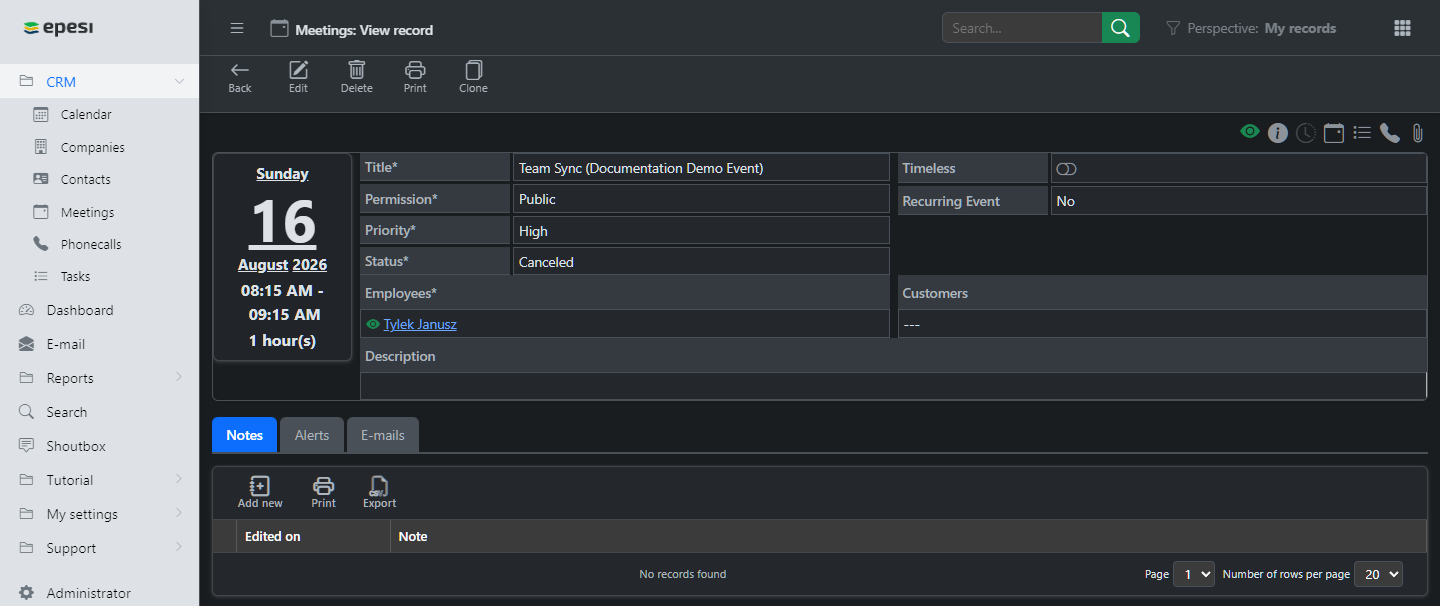
To create an event similar to one that already exists, open that event and click Clone in the Action Bar (shown above). This opens a new form pre-filled with the cloned event's data — edit what you need and save. The original event is untouched.
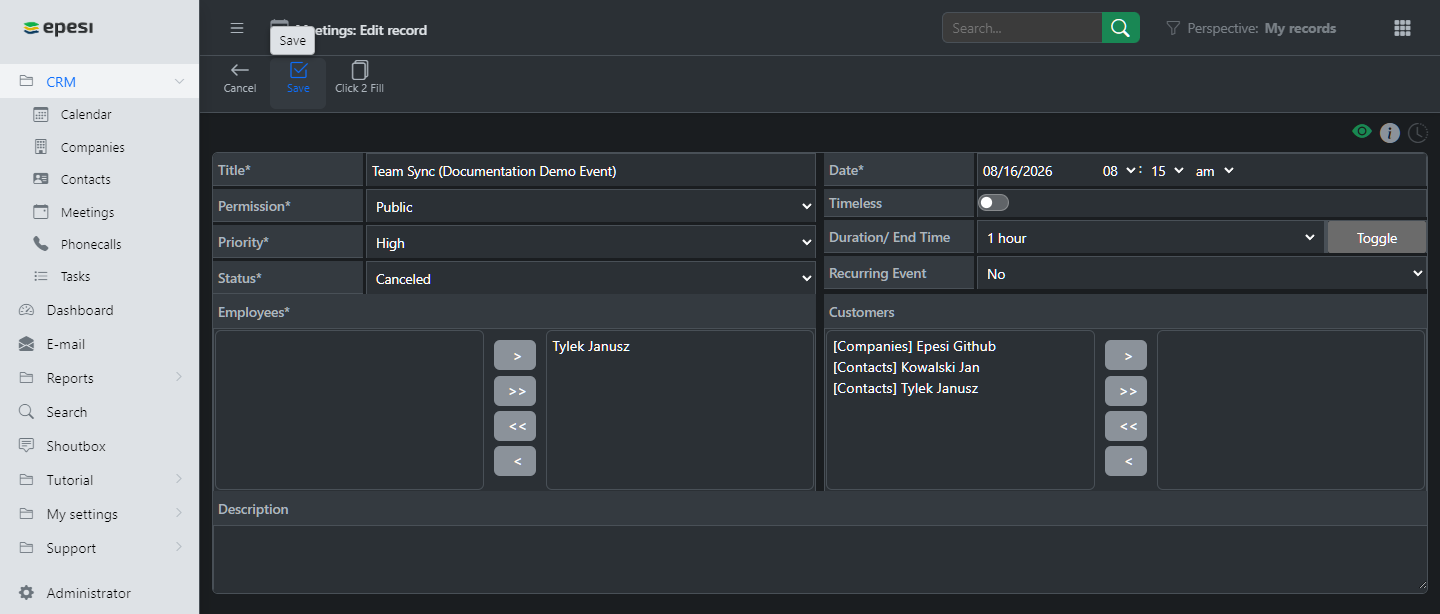
Filling out the event form
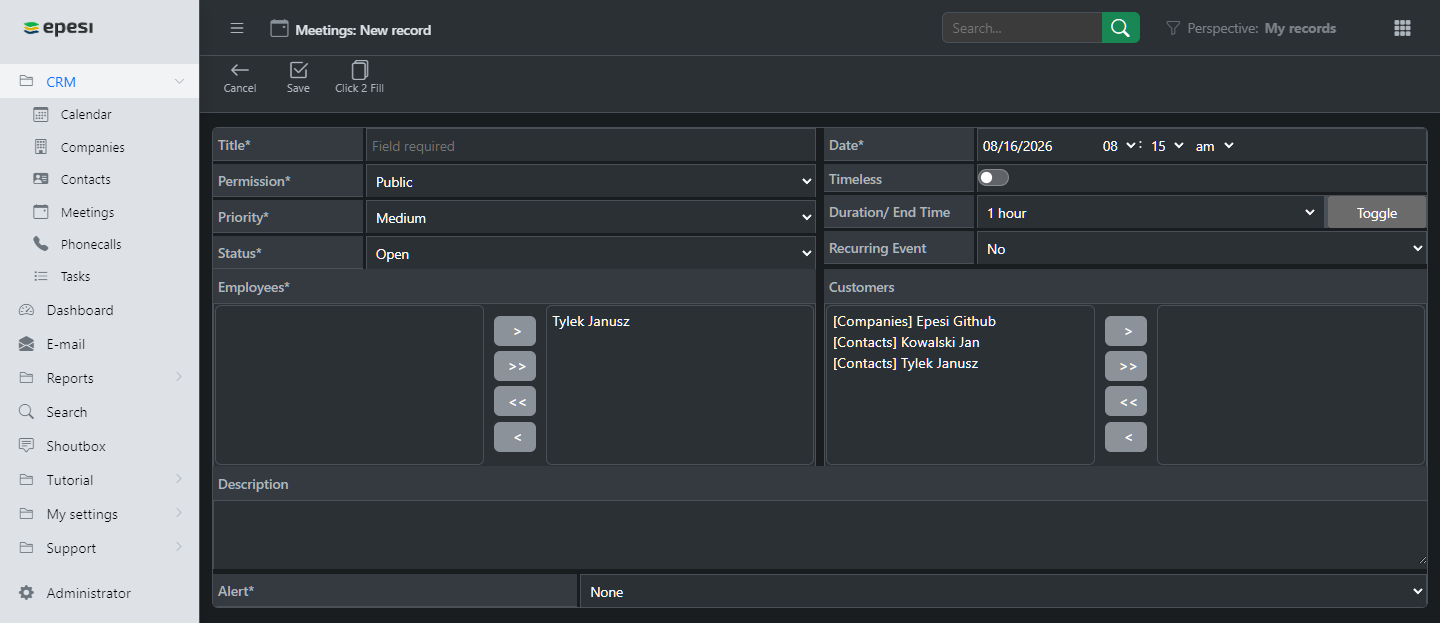
- The event's name, and optionally a short description.
- Attributes: access, priority, color, and status.
- Multiselect list of people directly involved in the event.
- A longer description — a short agenda or list of details.
- Time options — start, end, and duration:
- Date — the event's start date and time. Type it or pick from the calendar shown when you click the field; set the start time with the selects to the right (two selects instead of three if you use 24-hour time).
- Timeless — check this to drop the specific time, leaving just a date.
- Duration/End Time — pick a duration from the select on the left (5, 15, 30, or 45 minutes; 1, 2, 4, or 8 hours), or click Toggle to set an end time instead, using the three selects on the right (two in 24-hour mode). Click Toggle again to switch back to duration.
- Recurrence options.
- Customer selection — everyone connected to the event as a customer.
The Action Bar shows Save and Cancel while you're filling out the form.
Click Save to keep your changes (or create the new event):

Click Cancel to discard your changes (or abandon a new event):

Moving
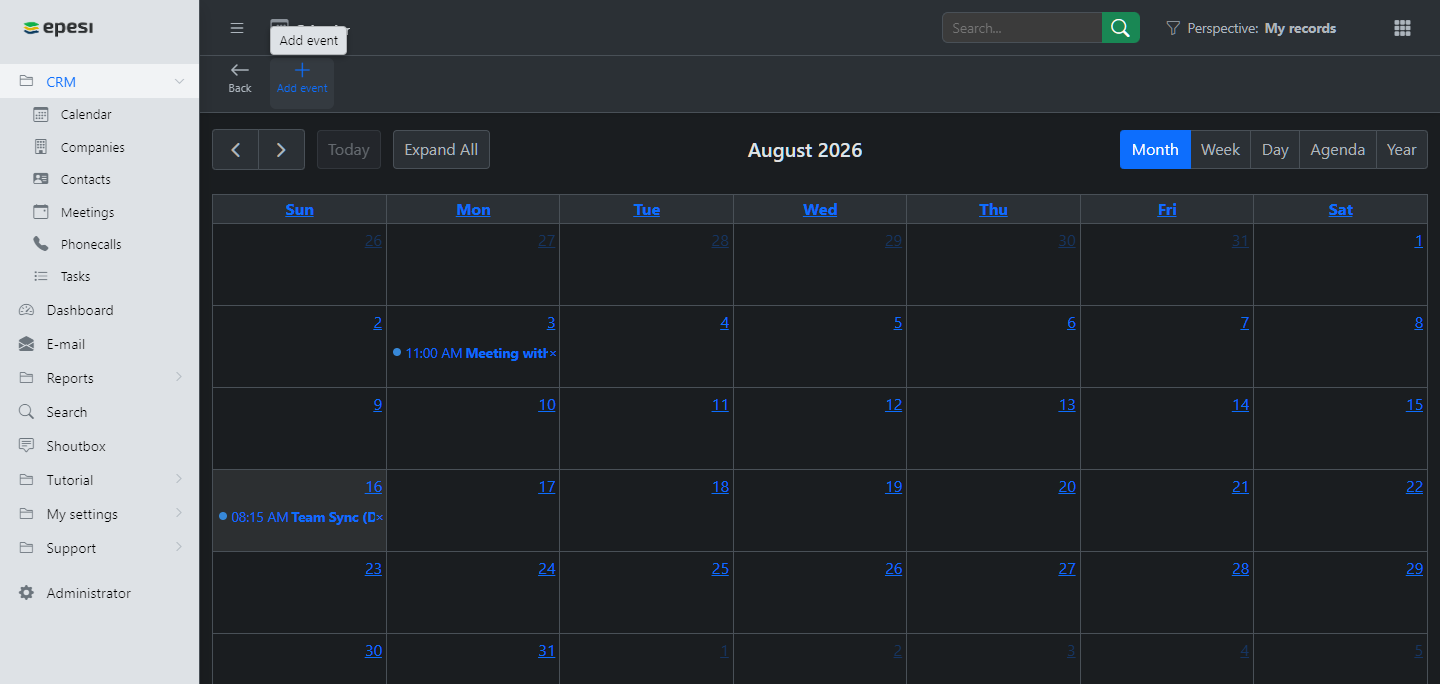
To change only an event's date or time — not its duration — drag it to a new spot in any grid view:
- Day view — change the start time by dragging the event frame to a different cell.
- Week view — change both the start time and the date, as long as the new date is still in the same week.
- Month view — change the date, as long as it's still in the same month.
Closing/canceling
Mark an event Closed once it's over and done with, or Canceled if it didn't happen. Any of these three ways work:
- From a grid view — click the icon on the event frame, then click the "close" action. This opens the lightbox described below.
- From the View Event interface — click the Status field: click "Open" to move to "In Progress," then click "In Progress" to move to "Closed" or "Canceled." This also opens the lightbox below.
- By editing the event — set the Status field directly to "Closed" or "Canceled."
The first two methods finish in this lightbox:
- Status selection — choose Closed or Canceled.
- Note — add a comment if you want one.
- Follow-ups — pick one to continue. Save just closes or cancels the event; the other options also create a new event, task, or phone call carrying over the event's data.