Editing Events
To edit an event you need to access the filling form and change there the fields of interest. There are a few ways to access this form:
- From Agenda - choose the "Edit" option from the actions available for the event.
- From Grid Views - click icon on the right event frame, and choose "Edit" from available actions
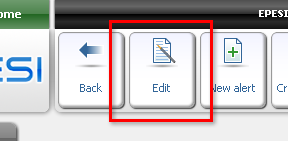
- From View Event Interface - while viewing the event use "Edit" button from the Action Bar (shown below)
Cloning
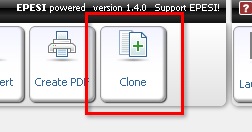
If you want to create an event very similar to the one that already exists, you can use cloning function. To do this, enter a view of the event you want to copy, and click "Clone" button from Action Bar (shown above). It will redirect you to a form filled with the cloned event's data. To proceed enter and save the changes.
Note: the original event won't be changed during cloning.
Filling Data Form
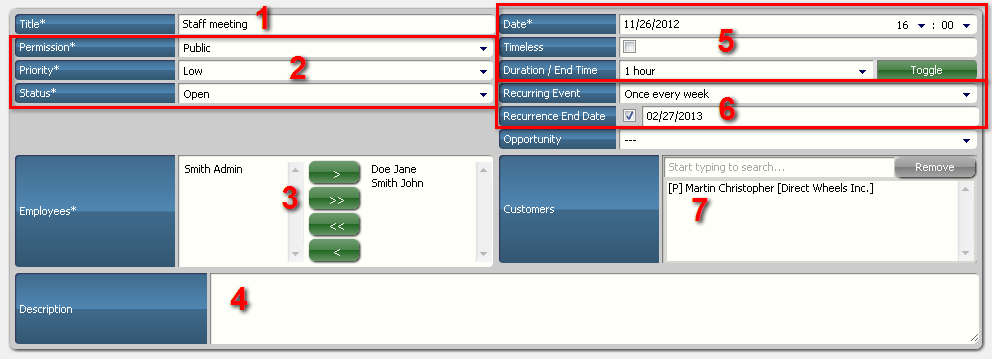
- The name of the event, may contain a short description of the event
- Here you can set event's attributes: access, priority, color and status.
- List of people directly involved in the event, in a form of multiselect.
- Description of the event, containing more detailed information, for example a short list or agenda.
- Time options. Here you set detailed information about the event start, end or duration.
- Date - start date and time of the event. You can set the date by filling the field to the left or choosing the right date from a small calendar that is shown when you click on the field. On the right side you can change the start time, by selecting right options from three selects (or two, if you use 24 hour time display).
- Timeless - by selecting timeless, the event will no longer need a specific time
- Duration/End Time - to set a duration, choose one of the options available in select to the left (5, 15, 30 or 45 minutes; 1, 2, 4 or 8 hours). If you want to determine the end time instead of duration, clicking "Toggle" will let you do so. To determine end time, choose the desired options from three selects available to the right (or two, if you use 24 hour time display). If you want to go back to setting duration from this point, click "Toggle" button.
- Recurrence options
- Customer Selection is where you can choose all customers that are connected with the event.
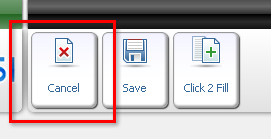
When you fill the data you can see two buttons on the Action Bar: "Save" and "Cancel"
If you want to save the changes you've made (or the new event), click "Save" to confirm them.
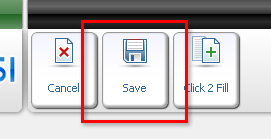
If you want to revert the changes you've made (or delete the new event) click "Cancel"
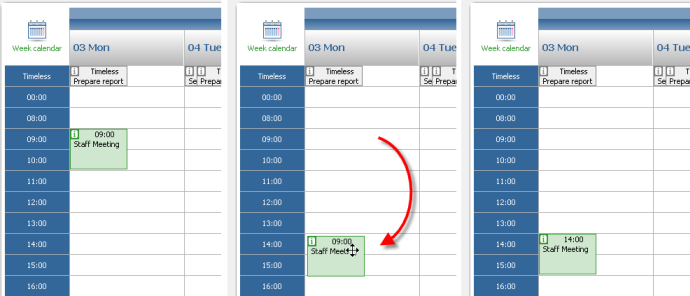
Moving
If the only thing you want to change in the event is its time or date (but not duration), you can do this by moving the event. You can do this from any Grid view.
- In Day view you can change only the start time of the event. To do this, drag and drop the event frame on the right cell.
- In Week view you can change both start time and date of the event. However it has its limitations - you can choose only the date from the same week event already is. To do this, drag and drop the event frame on the right cell.
- In Month view you can change only the date of the event and only if it is in the same month the event already is in. To do this, drag and drop the event frame on the right cell.
Closing/Cancelling
When the event is over and you finished working on it, you may want to mark this event as "closed". If the event didn't happen or was called off, you may want this event marked as "canceled". Both these status changes you can do in a few similar ways:
- While in a one of Grid views, click on the icon on the chosen event frame then click on the action button "close" ( ). This will direct you to a leightbox (described below).
- From the View event interface. To change the status from "Open" to "Closed" or "Canceled", first change the status to "In Progress" by clicking "Open" sign in "Status" field. To change status from "In Progress" to "Closed" or "Canceled", click "In Progress" sign in "Status" field. This will result in displaying a leightbox (described below).
- By editing the event - change value of "Status" field to "Closed" or "Canceled" (choose the right option from the select).
First two methods described above are using a leightbox for the final phase of changing the status.
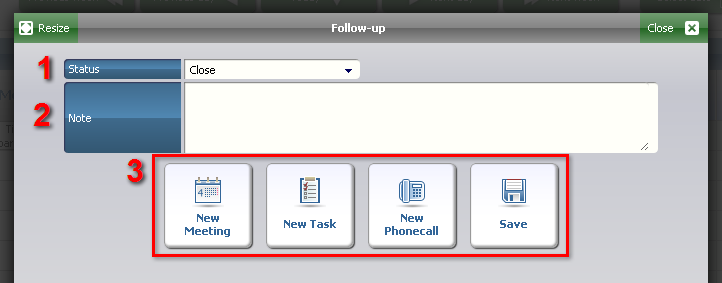
- Status Selection - here you can choose whether you want to close or cancel the event.
- Note - here you can write some comments.
- Follow ups - in order to continue you have to click one of these. The default value is "Save" - click this button if you only want to close/cancel the event. Other options allow you to create a new event, task or phone call using the data of the event being closed/canceled.